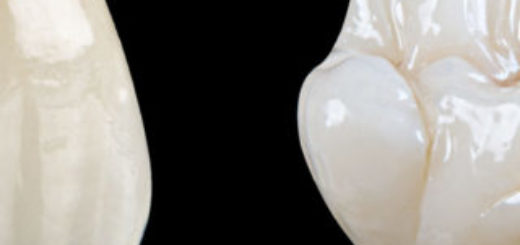
Dental Crown steps: What you need to know
Dental Crown steps: What you need to know
Typically fixing a dental crown will take two different appointments. This write up is a definitive guide on how the dental crown steps are prepared and imperative for every patient to be aware of. Let’s get on with it so that you can be rest assured of understanding the entire whenever next you have to undergo it.
First Appointment for Dental Crown
The first appointment will involve three important steps:
Numbing the gum tissues and surrounding teeth
Before the method of making your dental crown steps, your dentist will numb both your tooth and the gum tissue that is around it.
In the case you have undergone root canal treatment, then numbing won’t be required. However, your dentist may still feel that numbing the gum tissue is important
The shaping of teeth:
To accomplish this your dentist will remove some specific amount of tooth. This gives them an idea of how thick the dental crown has to be. The thickness will determine how sturdy and durable crown will be. And if porcelain crowns are being used, the removal of the tooth is done to ensure a lifelike translucency. The minimal thickness of the extracted tooth is generally 2mm for most of the dental crown. So you need to understand that every tooth that is being prepared for the dental crown steps will have to reduced by at least 2mm. And this happens to the tooth on every side. During the trimming procedure, your dentist will also remove any type of decay present or tooth fillings. This is the reason why your dentist will remove a large chunk of tooth.
Trimming is the not the only important part of the initial process in the making of the dental crown steps. The second part is trimming the tooth to its specific shape. It will be given a tapered form as this helps in fixing the crown. The shape of the tooth helps in providing stability and retains the crown in place. In case the tooth is broken off or decayed in large quantity, your dentist will first build a tooth with the help of a filling material. This makes the tooth taller and assists in fixing up the dental crown.
Taking impression of your teeth
Once the tooth is shaped up, your dentist will use it to make a replica of it by taking an impression. The impression can be taken using conventional method (with the help of paste or putty-like compound). The material used in conventional methods is called as “impression material”.
The other method that your dentist might use is called as Optical Dental Impression. In this process, your dentist will use a handy wand-looking camera. This is called as Intraoral Scanner.
In both the methods, the impression is sent to the laboratory. The only difference is that in the conventional method the impression is sent physically and in the optical method it is sent electronically.
The lab will then create the crown and will send it back to the dental clinic. The wait time is two weeks.
Getting temporary dental crown
As mentioned above the wait time to get the crown from the laboratory is two weeks. This is the reason why you will get a temporary dental crown.
Selecting the color of your crown
This depends on the natural color of your teeth.
The final procedure
Once all these procedures are over you will come for the fitment of the dental crown. First, your temporary crown will be removed. This will be done under the influence of anesthesia. Before the cementing is done your dentist will check whether the crown fits properly and compliments your other teeth or not. Once they are sure about the appearance and fit, they will cement the dental crown on your teeth.
Now that you have new dental crown make sure you take good care of them. Follow proper dental hygiene and keep visiting your dentist time and again.


